Happy new year!
It's a bit late, but I've finally got round to writing a review of the course I took back in September 2010.
You can read it here, but be warned; it's a long read!
Shane S
Painting in Painter
Sunday, January 9, 2011
Friday, July 30, 2010
Shane Smith's (ShaneMadeArt) assignment artwork post
Right, so here goes!
I'm Shane Smith and I'm a professional illustrator from the UK. I signed up to Painting in Painter on Schoolism.com to take my art to the next level, learn some new techniques, learn Painter and to network a bit. So far it has far exceeded my hopes for all of them, but I'll save the gushing for when I''ve finished the course.
I will use this single post to show all of my Schoolism assignments which will be updated weekly.
Hopefully it'll give any potential students a rough guide as to the type and amount of work you'll be required to produce. So take a look and feel free to visit my personal blog at ShaneMadeArt.blogspot.com for all this and more.
Click on each image for a larger view.
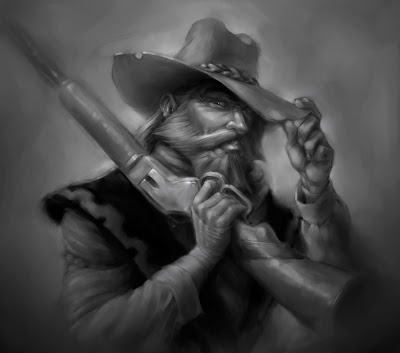
Lesson 1 - All about brushes Part 1
Use the basic tools to create your own black and white character painting.
Lesson 2 - All about brushes Part2
Create your own black and white furry or feathery creature. It can be any animal, or imaginary creature.
Lesson 3 - Textures
Create your own shiny character in black and white.
Lesson 4 - Colour
Produce a colour sketch of your character from lesson 1.
Lesson 5 - Painting line sketch
Create a simple, clean line drawing of our character from lesson 2 and colour it.
Lesson 6 - Alla prima
Create a colour sketch of your character from lesson 3 using the alla prima techniques demonstrated.
Lesson 7 - Lighting
Add realistic lighting to your colour character painting from lesson 4.
Lesson 8 - Details and edges
Apply the techniques demonstrated to your character painting from lesson 2.
Lesson 9 - Finishing
Basically use all the techniques you've learned and polish your painting until it's super shiny!
Any questions are welcome but please bear in mind that I can't 're-teach' any of the techniques I've learned, that would be a bit unfair to Schoolism.com and Ryan Wood.
Anyways, I hope this post was helpful for anyone looking to take Ryan's course, it's certainly worth it. Even if you don't stick with Painter nearly all of the techniques are transferable to Photoshop, and I'm sure some of Painter's blenders can be recreated with CS5's new wet brush thinger.
I'll be posting a full review of the course on my own blog in the near future.
Shane Smith - ShaneMadeArt.blogspot.com
Subscribe to:
Comments (Atom)


